DIY Mail Hat
Use this printable to create your very own mail hat!
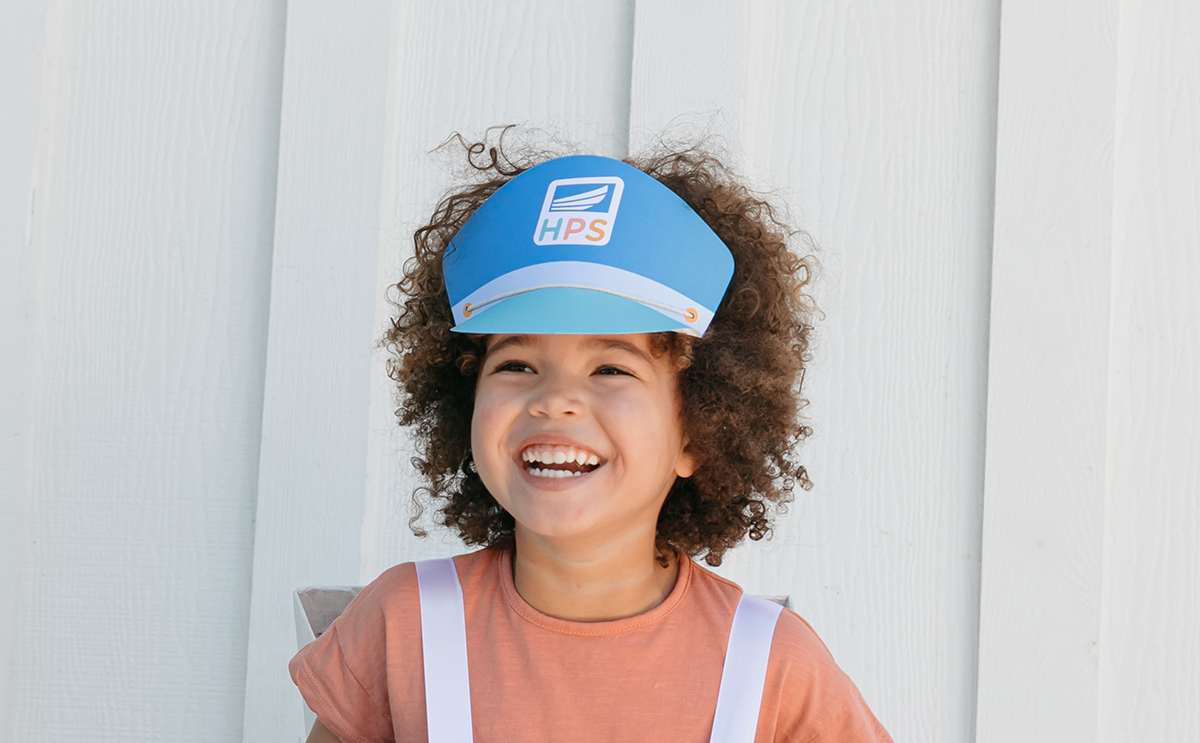
This adorable mail hat is the perfect addition to your DIY mail person costume!
Note: Adult helper required (this project requires cutting!)
What You Need:

This Mail Hat Printable
8.5″ x 11″ Standard Printer Paper or Card Stock
Scissors
Double-Sided Tape
Hole Punch
String
You can take many routes to create this costume; below, you’ll find basic instructions, but let creativity be your GPS!
Make the Hat:
1. Print this mail hat on standard size printer paper (8.5×11″).
2. Cut out the to hat along the solid black lines (NOT the dotted lines.)
3. Cut the brim along the solid black lines. The brim will have several little tabs along the top. The tabs will help the hat curve to the shape of your child’s head, so make sure not to remove!

4. Fold the tabs along the dotted curved line.

5. Use double-sided tape to attach the tabs of the brim to the cap. Carefully match the edges with the bottom edge of the cap.
6. Gently bend the hat along the shape of your child’s forehead; the brim should fold forward like a baseball cap!
Attach the Strap:

Use a hole punch or scissors to cut out the two yellow circles.
Cut a piece of string, ribbon, or shoelace about 25 inches long.
Feed the string through the holes, going across the front of the hat. Tie the string around your child’s head with a bow.


